

YELL51X-OUZ4 tiles have become a popular choice among homeowners, interior designers, and commercial property developers due to their durability, style, and versatility. These tiles are more than just a flooring option—they are a statement piece that can transform any space. However, to get the best results, understanding how to properly use and install YELL51X-OUZ4 tiles is essential. This comprehensive guide will walk you through everything from preparation to installation, maintenance, and even removal if necessary.
Understanding YELL51X-OUZ4 Tiles
Before diving into the installation process, it’s crucial to understand what makes YELL51X-OUZ4 tiles unique. These tiles combine robustness with aesthetic appeal, making them suitable for both residential and commercial applications. They are designed to withstand heavy foot traffic, resist stains and scratches, and maintain their look over time. Moreover, their versatility allows them to be used in a variety of spaces, including kitchens, bathrooms, living areas, and office environments.
Key Benefits
- Durability: Can handle high traffic and daily wear and tear.
- Design Variety: Available in multiple colors, patterns, and finishes.
- Easy Maintenance: Resistant to stains and easy to clean.
- Versatility: Suitable for different environments, both commercial and residential.
Preparing for Installation
Preparation is a critical step in ensuring a smooth and long-lasting installation of YELL51X-OUZ4 tiles. Skipping preparation can lead to uneven surfaces, poor adhesion, and reduced durability.
1. Assess the Subfloor
- Ensure the subfloor is clean, dry, and level.
- Remove any debris, old adhesive, or dust that could affect bonding.
- Repair any cracks or uneven areas to prevent future tile damage.
2. Gather Tools and Materials
You will need the following items:
- Tile adhesive (formulated specifically for YELL51X-OUZ4 tiles)
- Spacers to maintain consistent gaps between tiles
- Trowel for spreading adhesive evenly
- Tile cutter or wet saw for precise cuts
- Grout and sealant for finishing
Having the right tools makes the process faster and ensures a professional-looking finish.
Step-by-Step Installation Process
1. Plan Your Layout
- Start from the center of the room to create a symmetrical design.
- Use chalk lines to mark reference points, ensuring straight rows and alignment.
- Dry-fit a few tiles without adhesive to visualize the pattern.
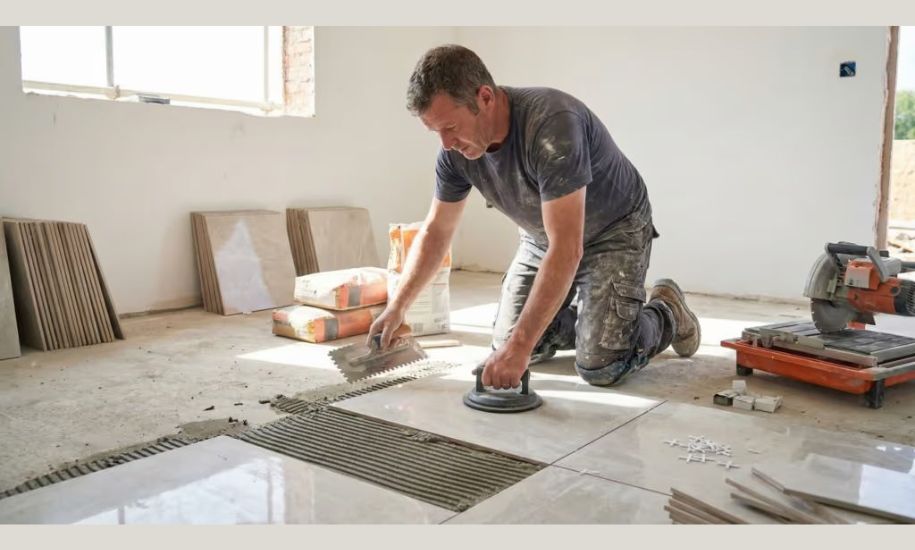
2. Apply Adhesive
- Spread the adhesive on both the back of each tile and the subfloor using your trowel. This double-bonding technique maximizes grip.
- Apply only enough adhesive for a small section at a time to prevent it from drying before the tiles are laid.
3. Lay Tiles
- Place each tile carefully, using spacers to maintain consistent spacing (usually 1/8 inch).
- Frequently check alignment to ensure tiles remain straight, especially in larger rooms.
- Adjust tiles immediately if they are off, as the adhesive may set quickly.
4. Cutting Tiles
- Use a tile cutter or wet saw for precise cuts around edges, corners, or fixtures.
- Always measure twice before cutting to avoid wastage.
5. Grouting
- Allow adhesive to dry according to manufacturer instructions (typically 24 hours).
- Remove spacers and fill joints with grout.
- Choose grout color based on whether you want a subtle or contrasting look.
- Use a rubber float to press grout into joints and wipe excess with a damp sponge.
6. Sealing
- Once grout is completely dry, apply a sealant to protect against moisture and stains.
- Sealing enhances the longevity of your tiles, particularly in high-traffic areas.
Maintenance Tips
Proper maintenance ensures that YELL51X-OUZ4 tiles remain attractive and functional for years.
- Regular Cleaning: Sweep or vacuum to remove dust and dirt.
- Use Mild Cleaners: Avoid harsh chemicals that may damage tile surfaces.
- Prompt Spill Management: Clean up spills immediately to prevent staining.
- Periodic Sealing: Reapply sealant every 1-2 years for optimal protection.
Removing YELL51X-OUZ4 Tiles
Even though these tiles are durable, there may be situations where removal is necessary—like renovations or damage.
- Start at a corner or edge.
- Use a chisel to gently lift tiles from the subfloor.
- Work slowly to avoid damaging surrounding tiles.
- Clean adhesive residue from the subfloor before installing new tiles.
Conclusion
Using YELL51X-OUZ4 tiles correctly involves careful planning, proper preparation, precise installation, and ongoing maintenance. By following these steps, you can enjoy a beautiful, durable, and functional floor that enhances the aesthetics of your space. Whether you are installing them for the first time or planning a renovation, these tiles offer a robust solution for any flooring project.
For more detailed guides and tips on home improvement, check out our blog Buz Vista for expert advice and inspiration.
You May Lso Read About: Top Southeast Asian fashion trends